Aspera User Guide
Aspera Shares service to access your Vault and/or Market Storage
Aspera Shares Server: https://shares.erc.monash.edu/
Requesting an Account: merc-rdsm-support@monash.edu
What
Aspera is a data transfer technology that can significantly reduce the time taken to transfer data over long distances.
Why
Some researchers may need to upload large collections or aggregated instrument data, download to distant individual collaborators, or transfer data between distant sites where collaborative groups work.
How
Monash collections can be made accessible through the Monash eResearch Aspera Shares server so that any group with distant members can use a web-browser to access data.
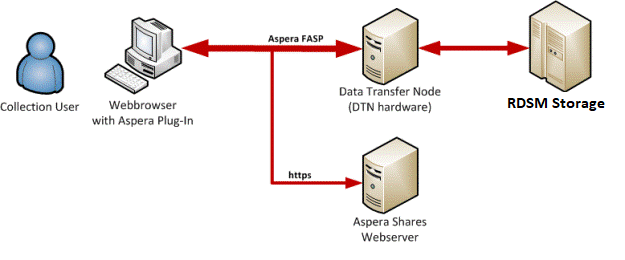
The Aspera Shares Service operates from a web server (VM) so that users can log in and command the Data Transfer Node (DTN) to upload or download data from Storage.
Making a collection accessible using Aspera
To have your storage allocation (all or part) made accessible using the Aspera service, open a support ticket by email to RDS with your specific requirements.
When the allocation has been mounted on Monash Aspera by the RDS Support Team you will receive an email notification:
- Login access is controlled by using email accounts
- These accounts are not linked to Monash AD and their initial passwords are pre-expired
Installing and configuring the Aspera client
There is an Aspera Client for each computer platform (Windows, Macintosh, Linux). When you login via the quick links at the top of the page, you will be prompted to install the latest version of the appropriate browser plug-in. Doing this also installs the command line client in the background.
Even if you want to use command line only, this initial contact step validates that almost all communication paths to your workstation are working. There are some sites that have had trouble with establishing data transfer that may need discussion with your local Cyber-Security team.
The following steps will guide you through this process for Monash University.
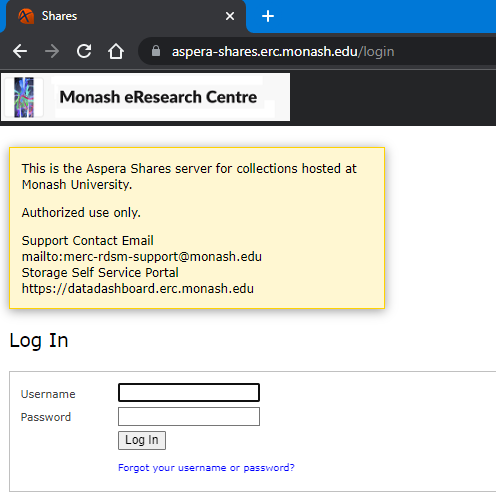
- Log in to the Aspera Shares server using your email specific username and your Aspera password.
- Select your allocation folder from the left side of the screen.
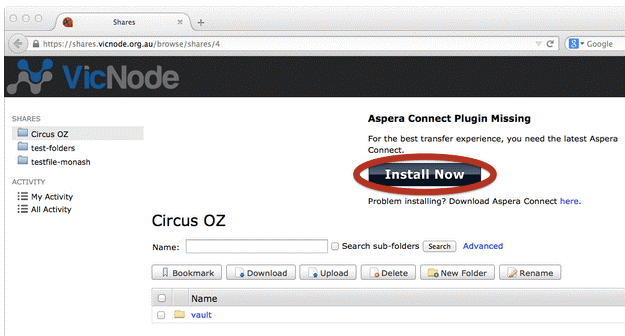
- Follow the Install Now link to start installing the Aspera Plug-In.
- Follow the instructions, noting that you may need to approve to start the installation process.
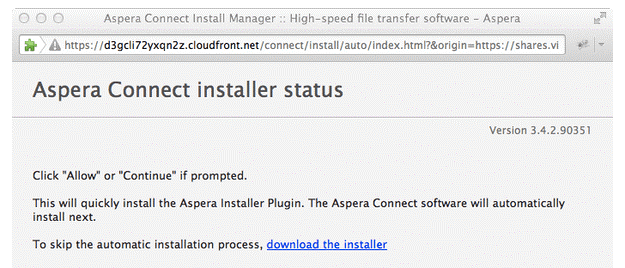
- Once the Aspera Plugin has downloaded, open the file to continue the installation process. Note that you may need to give approval to run the installer.
- Then follow the installer instructions.
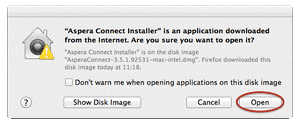
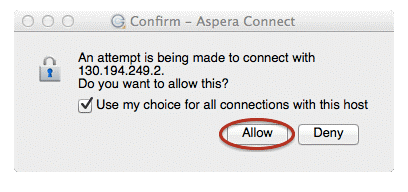
- When you return to the allocation on the Aspera Shares server, you will be prompted to Allow your browser to use the Aspera Web Plug-In.

- You are now ready to use Aspera in your web browser.
Uploading and Downloading files using the Aspera client
- Log in to the Aspera Shares server using your username and password.
- Select the allocation you would like to access from your list of allocations
- You will now be able to upload, download, sort and search folders and files in an allocation.
- Be aware that not all users have all rights;
- You may need to discuss specific access rights with the collection owner

- The first time you complete an action, like download or upload a file, you will need to authorise the Aspera Plugin to communicate with VicNode.
