Visual Studio Code
Please read and follow these instructions so that your VS Code/Cursor/other IDE runs on a compute node, rather than on the shared login node.
Intro
Visual Studio Code (VS Code) is a powerful tool that is installed on your computer, and can then connect to a remote server. The remote server allows you to make and edit files on M3, rather than having to store them on your computer.
VS Code (remote server on M3) can be used for a number of things including:
- Debugging Python code
- Writing code in many other languages
- As a replacement for R Studio
- As a replacement for JupyterLab
Configuration
To use VS Code, you must install VS Code on your computer and configure a remote host to which you will connect.
1. Prepare VS Code
-
Install Visual Studio Code
-
Install the Remote Development Extension Pack
-
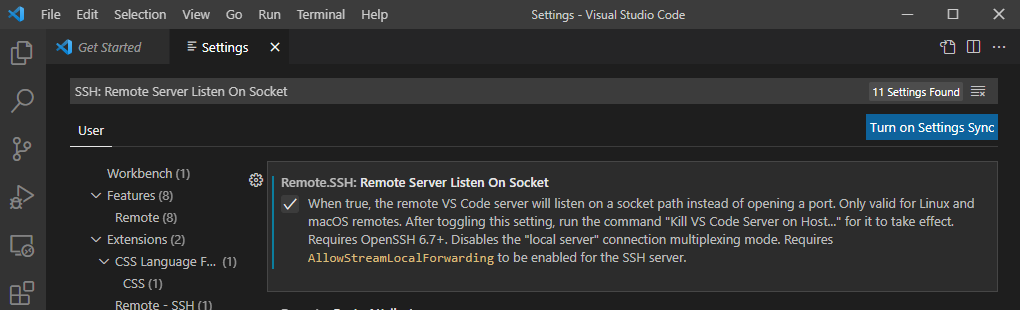
In VS Code, open
SettingswithCtrl+,and search forRemote.SSH: Remote Server Listen On Socket. Select the checkbox.
2. Generate an SSH key and add it to the SSH agent
While not strictly necessary we strongly recomend you setup key based authentication.
3. Configure VS Code
Open VS Code and open the Command Palette (F1). In the dropdown menu,
select Remote-SSH: Add New SSH Host... or click on the Add New icon in
the SSH Remote Explorer in the Activity Bar.
You'll then be asked to enter SSH connection information. Make sure you
replace username with your M3 username.
Mac and Linux Instructions
On Mac and Linux, enter:
ssh -l username m3-remote-vscode -o ProxyCommand="ssh username@m3.massive.org.au /usr/local/sv2/sshnc.sh"
Windows Instructions
On Windows enter:
ssh -l username m3-remote-vscode -o ProxyCommand="ssh.exe username@m3.massive.org.au /usr/local/sv2/sshnc.sh"
The ProxyCommand directive allows you to connect to a node allocated to you rather
than one of the login nodes. This is different to the usual VS Code
Server setup because you're on a shared HPC cluster, not a regular
server.
Usage
There are two steps to using VS Code on M3
- Start a Job on M3 to reserve resources for your usage
- Connect VS Code to a remote server on M3
Starting a Job on M3
-
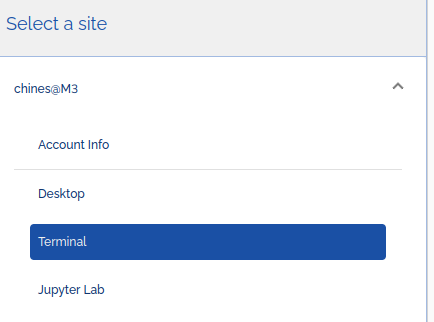
Go to Strudel2 and Login.
-
Click on either Terminal or Jupyter Lab on the left sidebar:
-
You should see something similar to this on the right of the page:

Select the resources you need (which type of GPU) and how long you need them for (up to 7 days).
-
Click Launch and wait for the Job to begin Running (there is no need to connect).
Launch VS Code Remote server
-
On your computer, start VS Code
-
Open the VS Code "Command Palette" ctrl+shift+p or F1
-
Type/select Connect to Host:

-
Select the host you configured earlier (it should be called m3-remote-vscode).
Frequently Asked Questions (FAQ)
Q: I see a message about "Connection Reset by peer" - what does it mean?
A: This will happen if you fail to authenticate too many times - perhaps typing in your key passphrase incorrectly. Wait 10 minutes, and try again. If you still run into errors please contact the helpdesk.
Q: I keep getting prompted for a password in an endless loop - what should I do?
A: Check that your connection command includes the username everwhere you need it (it should be in there twice, once for the login node and once for the compute node). Also, ensure you added your keys to the ssh-agent to avoid typing your key passphrase every time. You will need to do this after every reboot.
Q: I got an error message about posix spawn - how do I fix it?
A: You're probably on Windows. Check that you used the Windows specific command with ssh.exe instead of ssh.
Q: I tried to use the ssh-agent but it says "Permissions mykey are too open."
A: Private keys should never be shared - ensure only you have read, write, and execute permissions on your private key. Linux/Mac users see this StackOverflow post. Windows users, see this blog post.